Rigid box style and insert material should be selected as one packaging system. The outer box controls opening, presentation and packing; the insert controls retention, clearance and product access. This buyer’s guide compares common structures and insert directions, then shows what to approve in a physical sample before production.
Start With the Product and Opening Sequence
Record the product’s maximum dimensions, weight, fragile or finished surfaces, number of components and the direction in which each item should be presented. Then define the opening sequence: should the lid lift away, hinge open, slide out or reveal the product above an inner shoulder? Retail display, gifting, ecommerce fulfillment and export packing can place different demands on the same visual concept.
Also consider removal access. A tight recess may hold a product securely yet make it difficult to lift without a finger notch, ribbon or pull tab. Components that can scratch one another may need separation. These decisions should be made before artwork is locked because they can change the dieline, wrap panels and insert geometry.
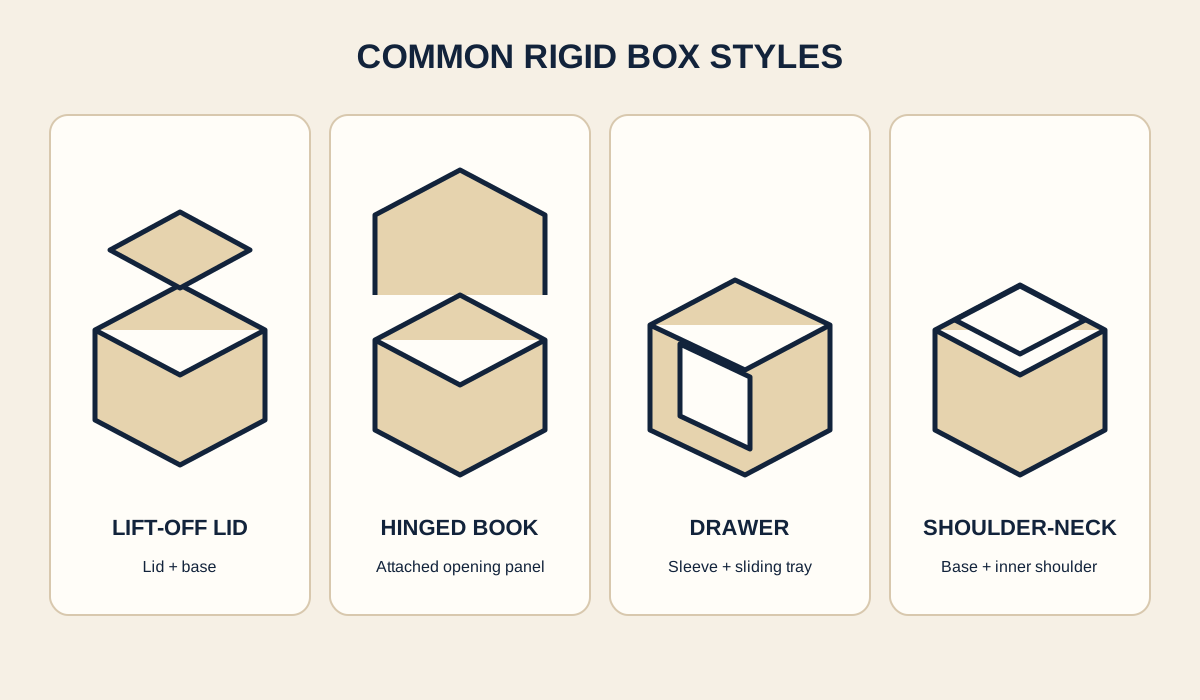
Rigid Box Style Comparison
| Style | Opening and presentation | Packing considerations | What to sample |
|---|---|---|---|
| Lid-and-base | A separate top lifts away from the base; full or partial telescope depth can be considered. | Check lid clearance, lift resistance and final packed height. | Fit, lid movement, corner alignment and wrap edges. |
| Shoulder-neck | An inner shoulder is visible between the lid and base and can create a layered reveal. | The shoulder position and lid clearance need to work with the insert. | Reveal height, alignment, opening force and exposed edges. |
| Magnetic book-style | A hinged panel opens like a book and closes with magnets where the approved design permits. | Review hinge movement, magnet position and whether the box ships assembled. | Closure, panel alignment, repeated opening and finish placement. |
| Drawer | An inner tray slides from a sleeve, sometimes with a ribbon or pull feature. | Product weight and insert friction affect the sliding action. | Pull access, travel, retention and sleeve clearance. |
| Collapsible | The structure may ship flat and be erected before packing. | Adhesive areas, folds and the packing team’s assembly sequence matter. | Flatness, erection, corner closure and repeated setup. |
| Project-specific presentation | Double-door, multi-tier, round or shaped structures can be considered when they suit the brief. | More parts may add tooling, assembly and inspection steps. | A complete physical prototype with the product installed. |
Trade names vary between suppliers. An approved dieline and sample define the structure more reliably than a name alone. Review our custom rigid box capabilities when moving from comparison to a project brief.
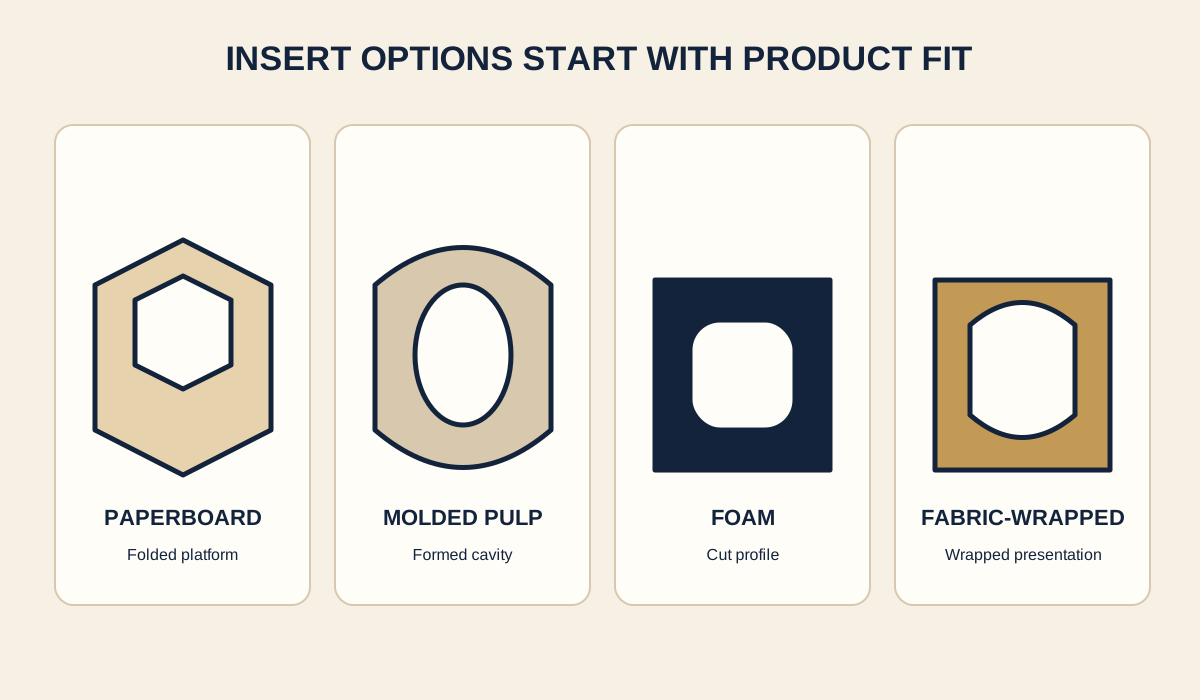
Packaging Insert Types
Paperboard and folded paper inserts
Folded paperboard can create platforms, partitions and retaining tabs while offering printable surfaces. It may suit products that can be held by folds and cut-outs without deep cushioning. Grain direction, crease behavior and the sequence used to load the product should be sampled.
Corrugated inserts
Corrugated components can separate, block or support products and may be useful where structural spacing matters. Board construction, cut edges and the visual standard need to match the project.
EVA, EPE, sponge and other foams
Die-cut foam materials can create shaped recesses. Density, thickness, surface, odor requirements, cut quality and the product’s finish must be reviewed. A generic material name is not enough to define the contact surface or retention.
Fabric-covered padded inserts
A fabric or paper covering can change appearance and contact feel, while also adding forming and assembly steps. Seams, edges, adhesive exposure and color should be approved.
Thermoformed trays and molded pulp
Formed inserts can provide repeated cavities but may require tooling and project-specific material review. Do not infer environmental performance from the material name alone; sourcing, composition, destination infrastructure and the full packaging system matter.
Loose fill
Raffia or shredded paper can support presentation and fill open space, but it is not a precision-retention insert. It should not be substituted for a fitted structure when movement or orientation must be controlled.
Match the Box and Insert as One System
The insert affects the box’s internal height, lid clearance, center of gravity and opening experience. A heavy item placed too high can change stability; a deep recess can hide graphics or make removal difficult. Multiple components need a clear loading order and sufficient separation. The final design should be reviewed with any bags, sleeves, cards, cables or accessories that will be packed with the main item.
Printing and surface treatments should be evaluated after structural panels and touchpoints are known. Foil or embossing across a hinge, edge or highly curved area may need adjustment. Use the design and prototyping process to align the dieline, artwork and physical sample, and review printing and finishing options against the approved material.
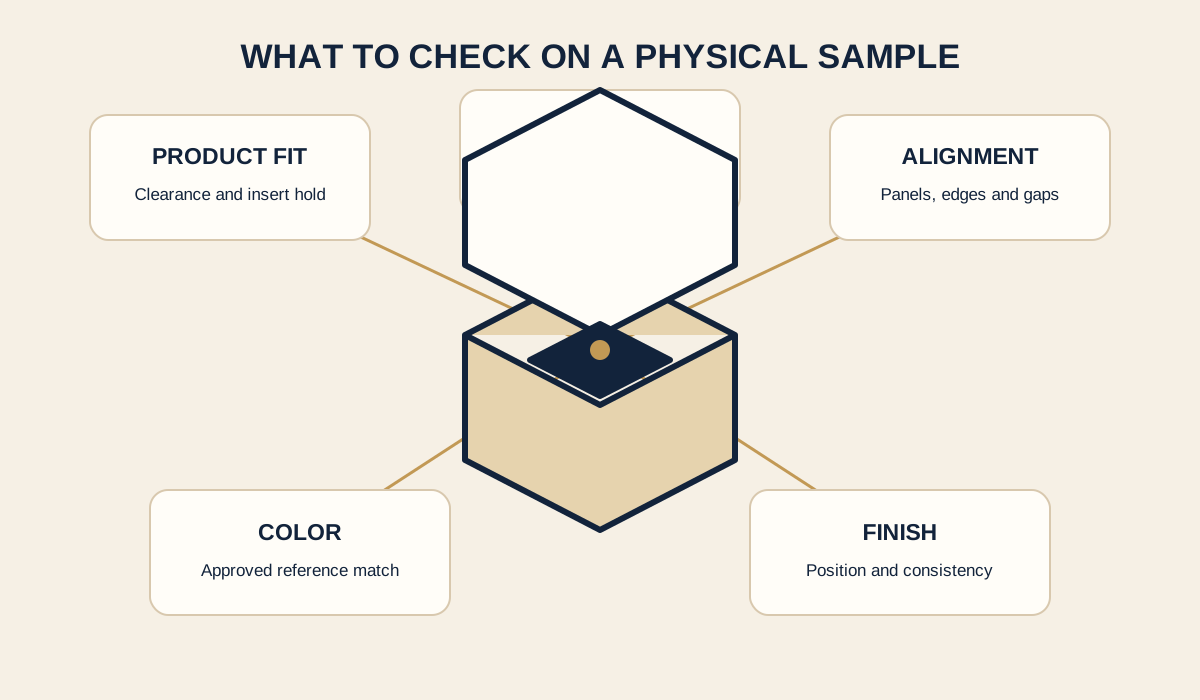
Physical Sample Approval Checklist
- Confirm the product version, maximum dimensions, orientation and all packed components.
- Check the box’s finished external size and the internal clearance required by the insert.
- Open and close the structure several times and review lid, hinge, drawer or magnetic behavior.
- Check that the product is retained without unacceptable pressure on fragile or finished surfaces.
- Test removal access, finger notches, pull ribbons and the intended unboxing sequence.
- Review insert movement, visible gaps, cut edges, covering and adhesive exposure.
- Approve paper, wrap, color, print registration and finish location under agreed viewing conditions.
- Confirm individual protection, export-carton orientation and the packing sequence.
- Record approved changes and identify the signed reference for production.
The applicable checks depend on the product and approved specification. Transport or performance claims require a stated test method and recorded result; a presentation sample alone does not establish shipping performance.
Frequently Asked Questions
Which rigid box style is right for my product?
It depends on the product dimensions and weight, presentation sequence, insert, packing method, delivery route and budget. Start with the use case, then compare a small number of suitable structures.
Does every rigid box need an insert?
No. An insert may be unnecessary when the product is already protected and positioned, but it can be considered when orientation, separation, presentation or removal access needs control.
Can several products share one box?
Yes, provided the insert and loading order are developed around all components. Supply dimensions, weights and samples of every item that must fit.
What should be checked in a sample?
Check structure, fit, opening, removal, material, color, finishes, insert movement, assembly and final packing against the approved specification.
What information should I send for quotation?
Send product dimensions and weight, component count, preferred box style, insert direction, quantity, artwork status, finish references, packing method, destination and timing.